
Note: Whiteboard is currently available for iPad and desktop Zoom applications only. If you are on an iPhone, you will not see the Whiteboard option.
Accessing The Zoom Whiteboard
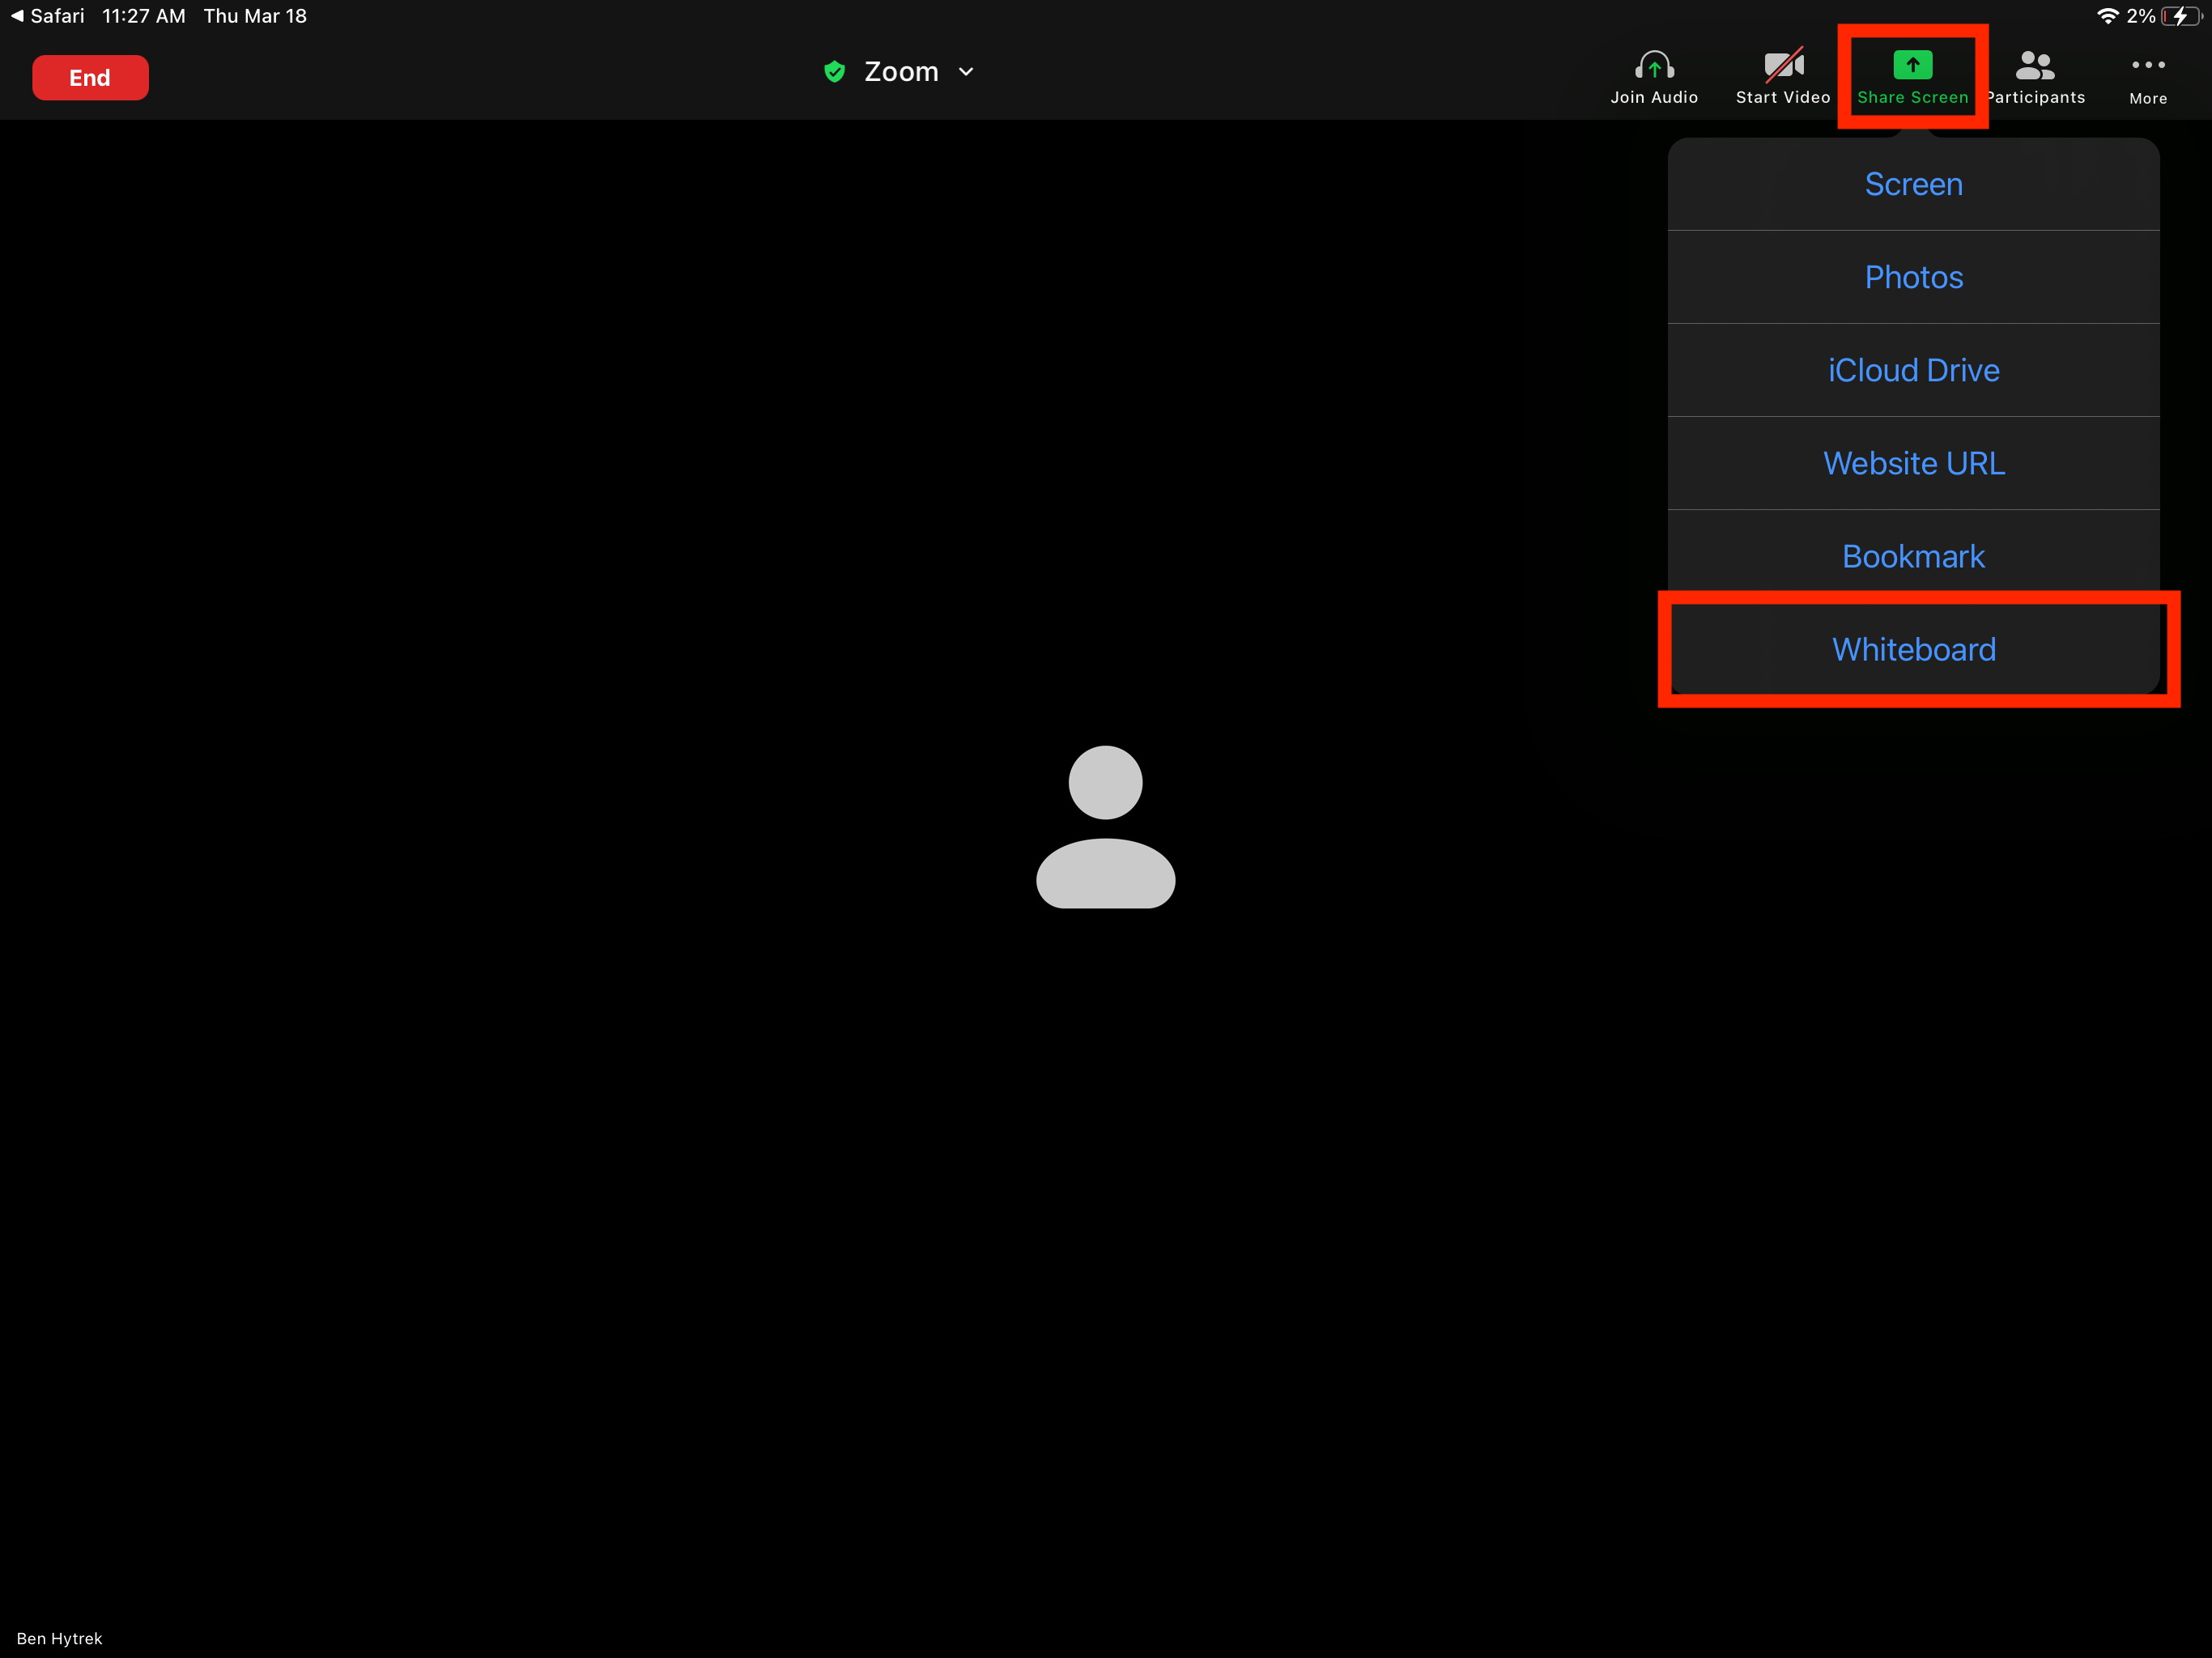
When using an iPad and the Zoom iOS application, launch a Zoom Meeting and select the “Share Screen” button in the meeting controls. This will pull up a dropdown menu where you can select “Whiteboard” to begin sharing.
Using The Zoom Whiteboard and Annotation Tools
When opening the Zoom Whiteboard, you will be initially presented with a minimal control layout with only the “Pen”, “Eraser”, and “Color” annotation tools displayed at the bottom middle of your current whiteboard, this is the “Annotation Tools Menu”. You can either begin annotating on the screen by selecting the “Pen” tool or you can click on the “Expand” icon represented by a “>” symbol to extend the Annotation Tools List and to view all of the annotation tools available while using the Zoom Whiteboard.

Annotation Tools Explained


1. Undo and Redo
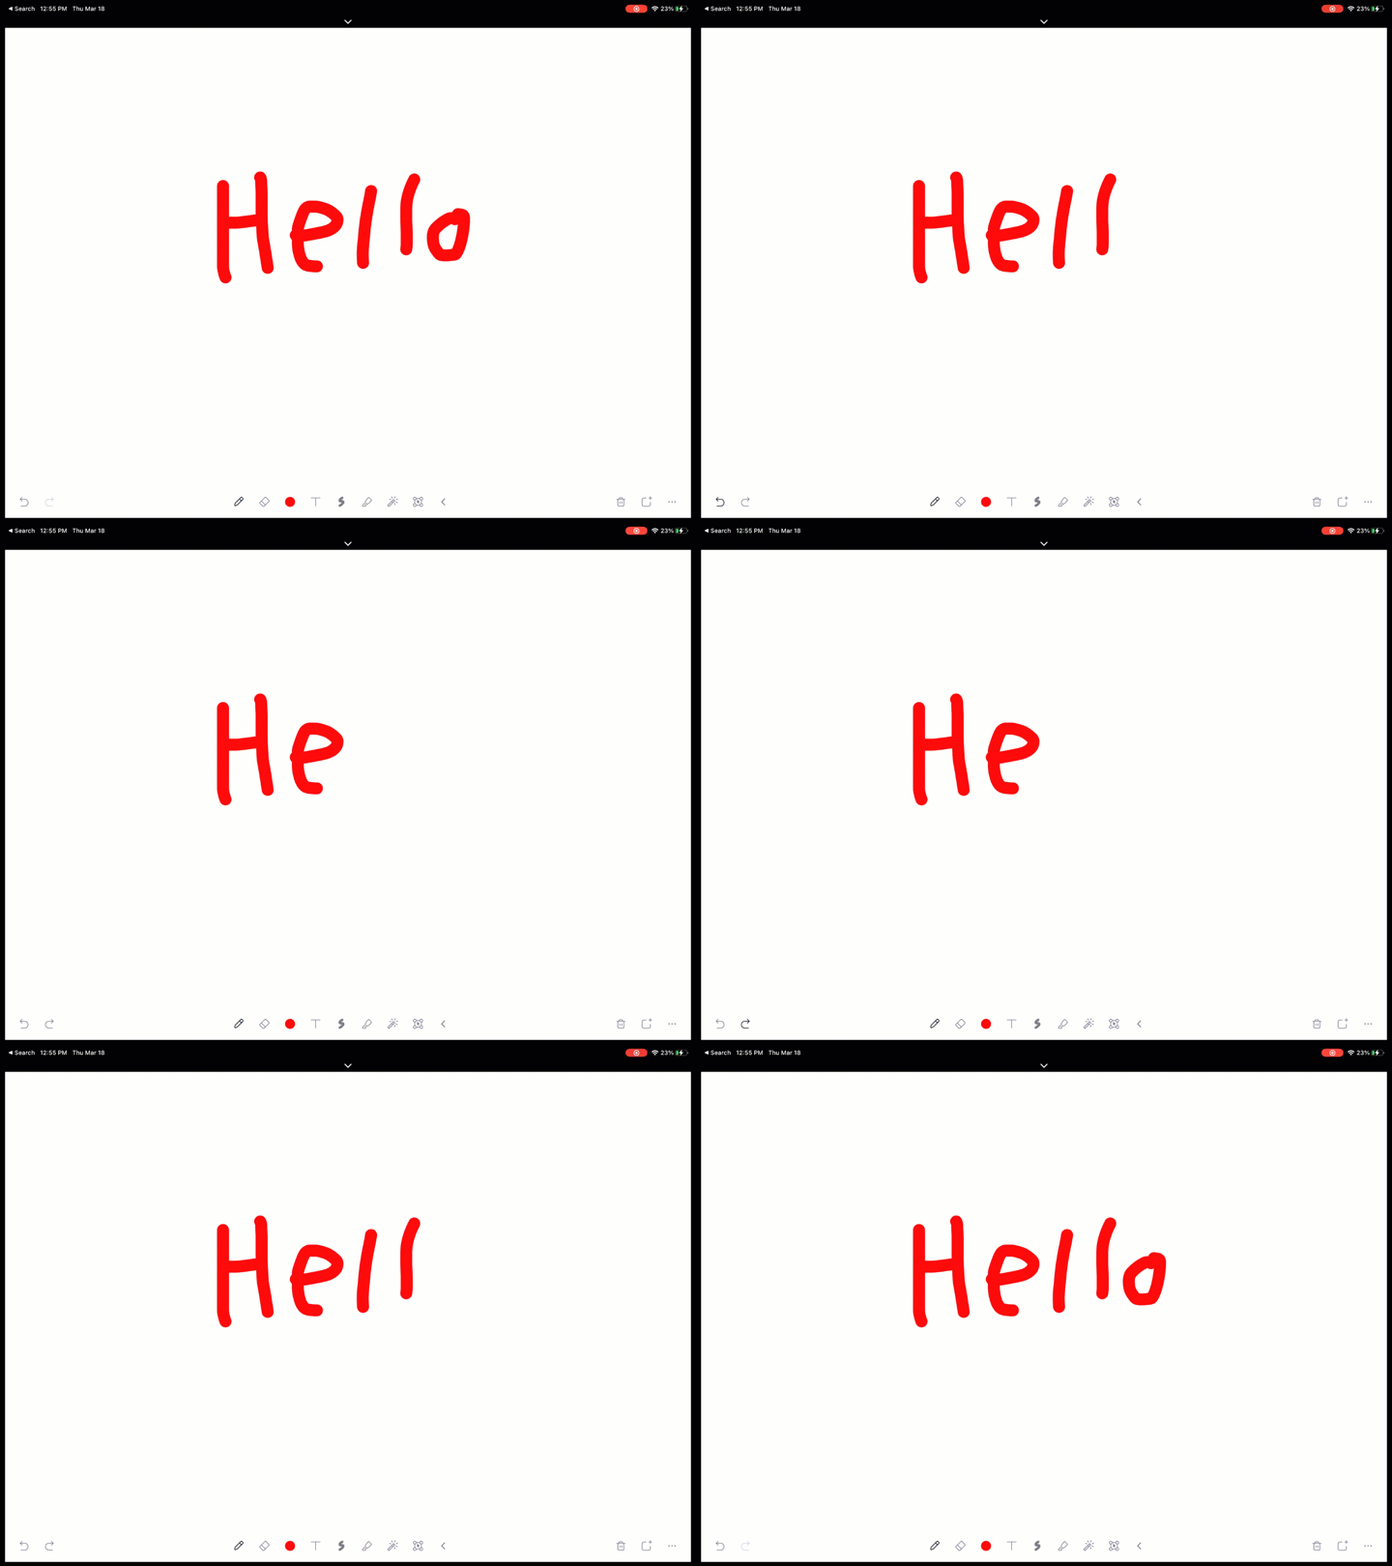
Remove your last changes or adds back the annotations you previously removed.

2. Pen
Annotate on your screen either using a finger or Apple Pencil inputs.


3. Eraser
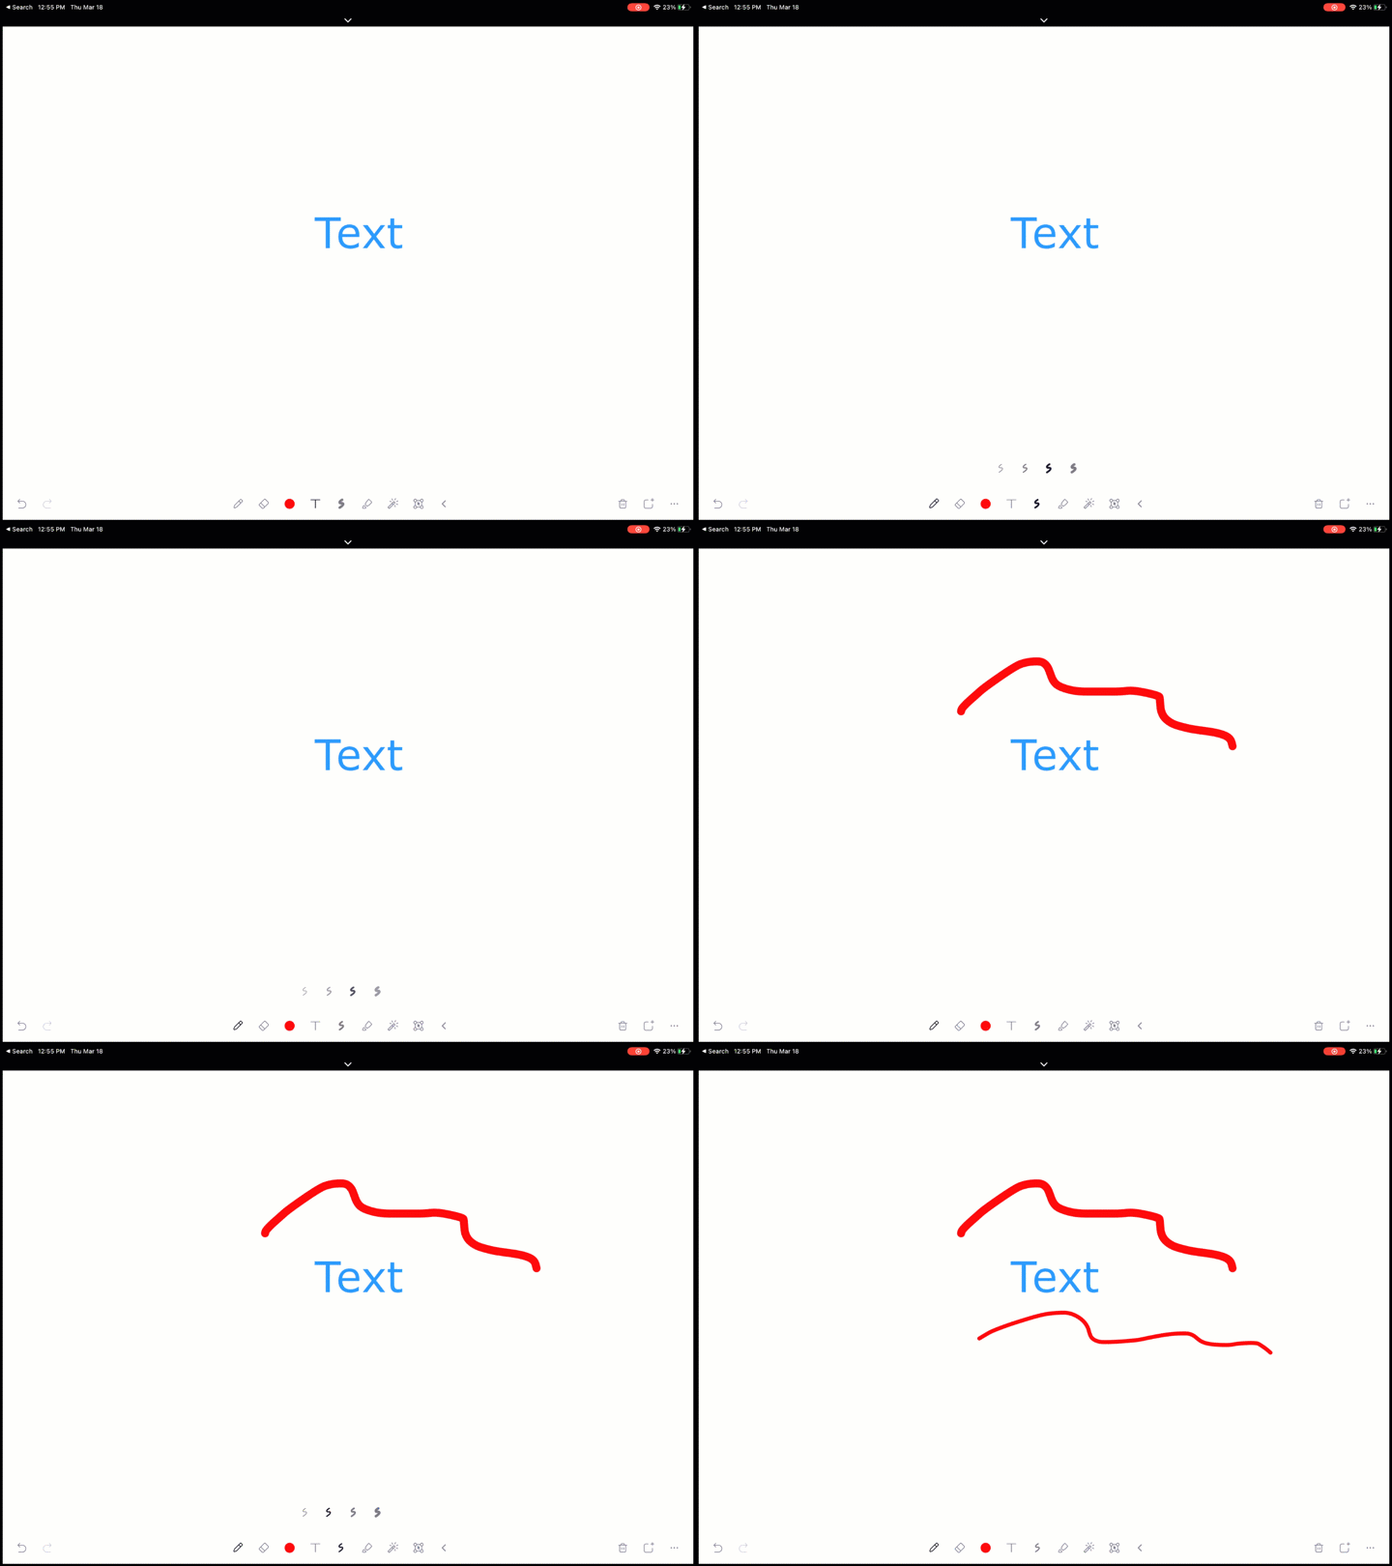
Erase specific annotations on your screen by dragging your finger or Apple Pencil over sections of your screen.

4. Color
Change the color of Pen or Highlighter annotations.


5. Text
Type text on the whiteboard by using the iPad onscreen keyboard. Basic text editing functions include changing font size, color, italicizing, and bolding.


6. Stroke
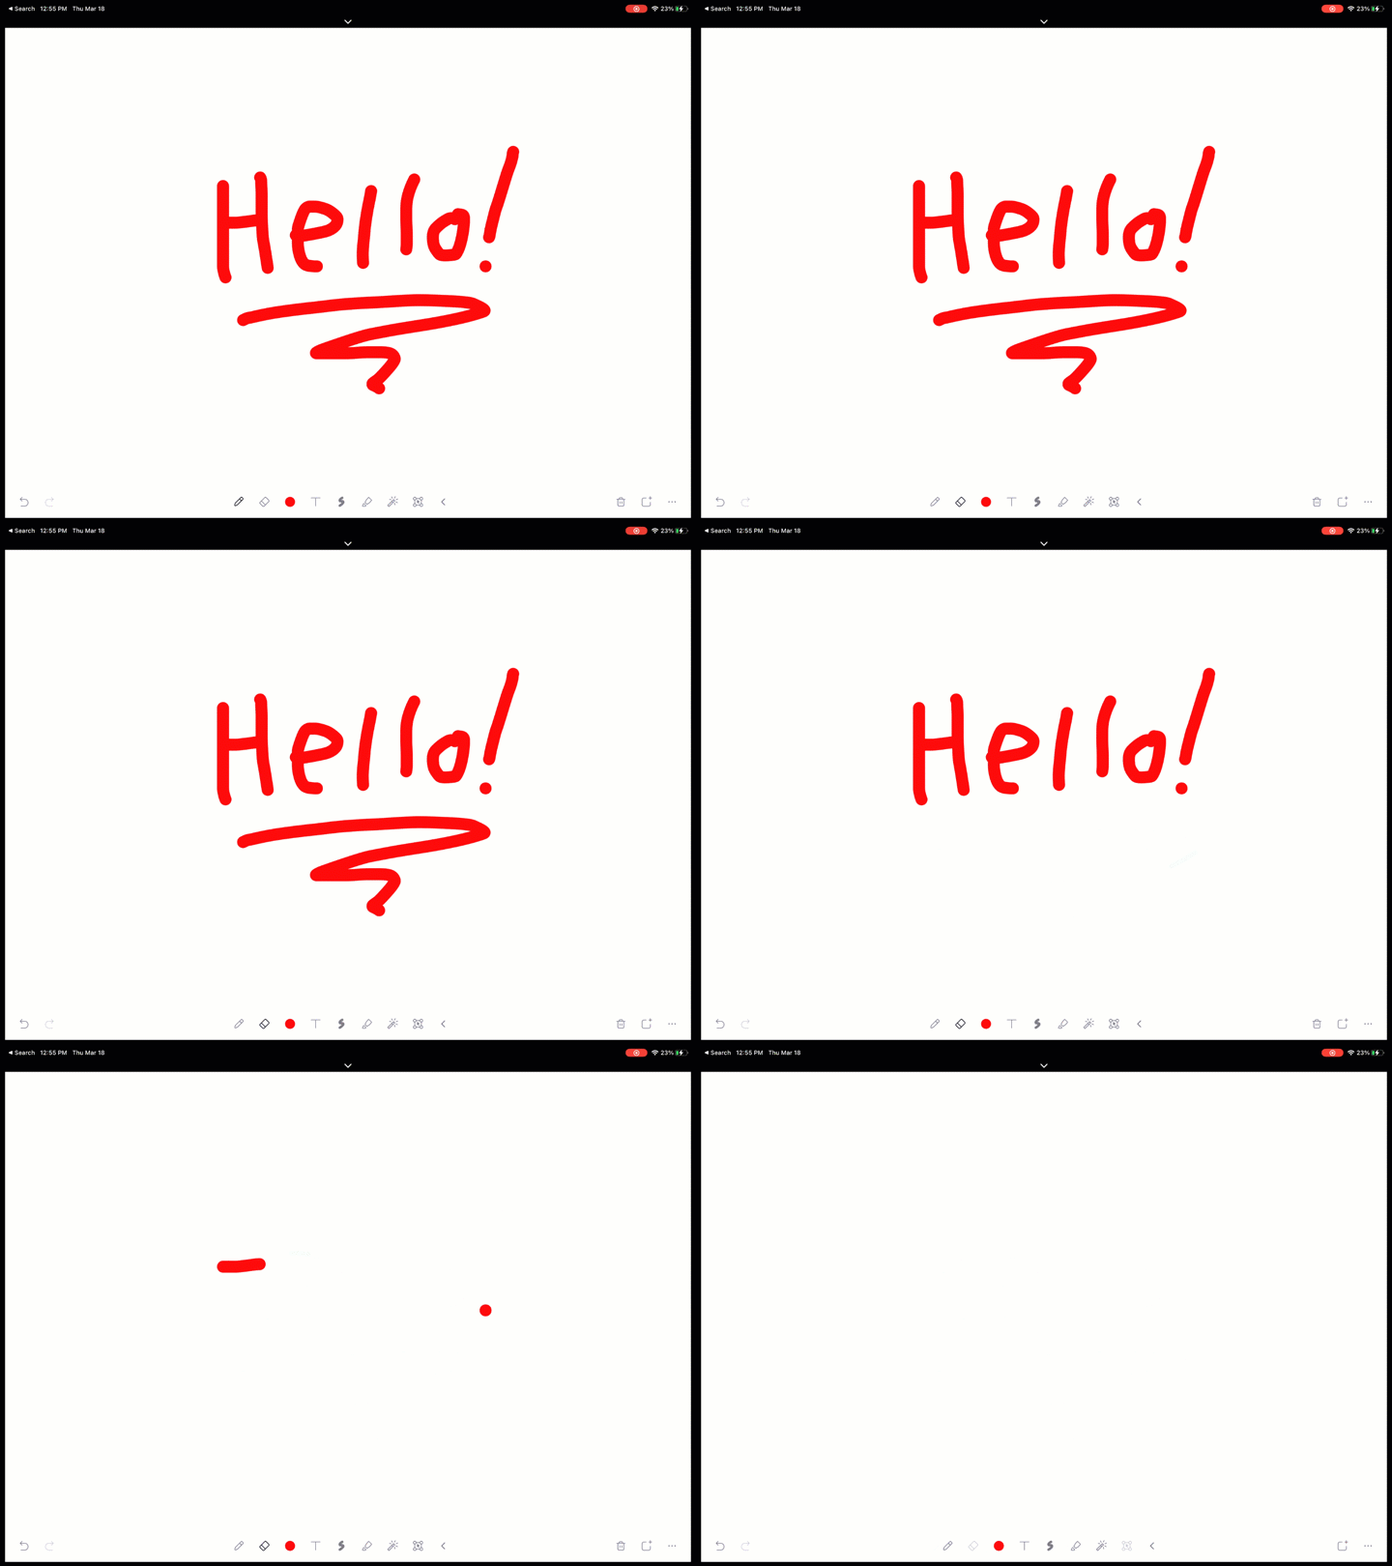
Changes the thickness of either the Pen or Highlighter annotations.

7. Highlighter
Highlight parts of the screen or specific annotations by dragging your finger or Apple Pencil over sections of your screen.


8. Spotlight
Display a red dot on the shared Whiteboard screen at all times. Use this to point out parts of the screen to other participants.
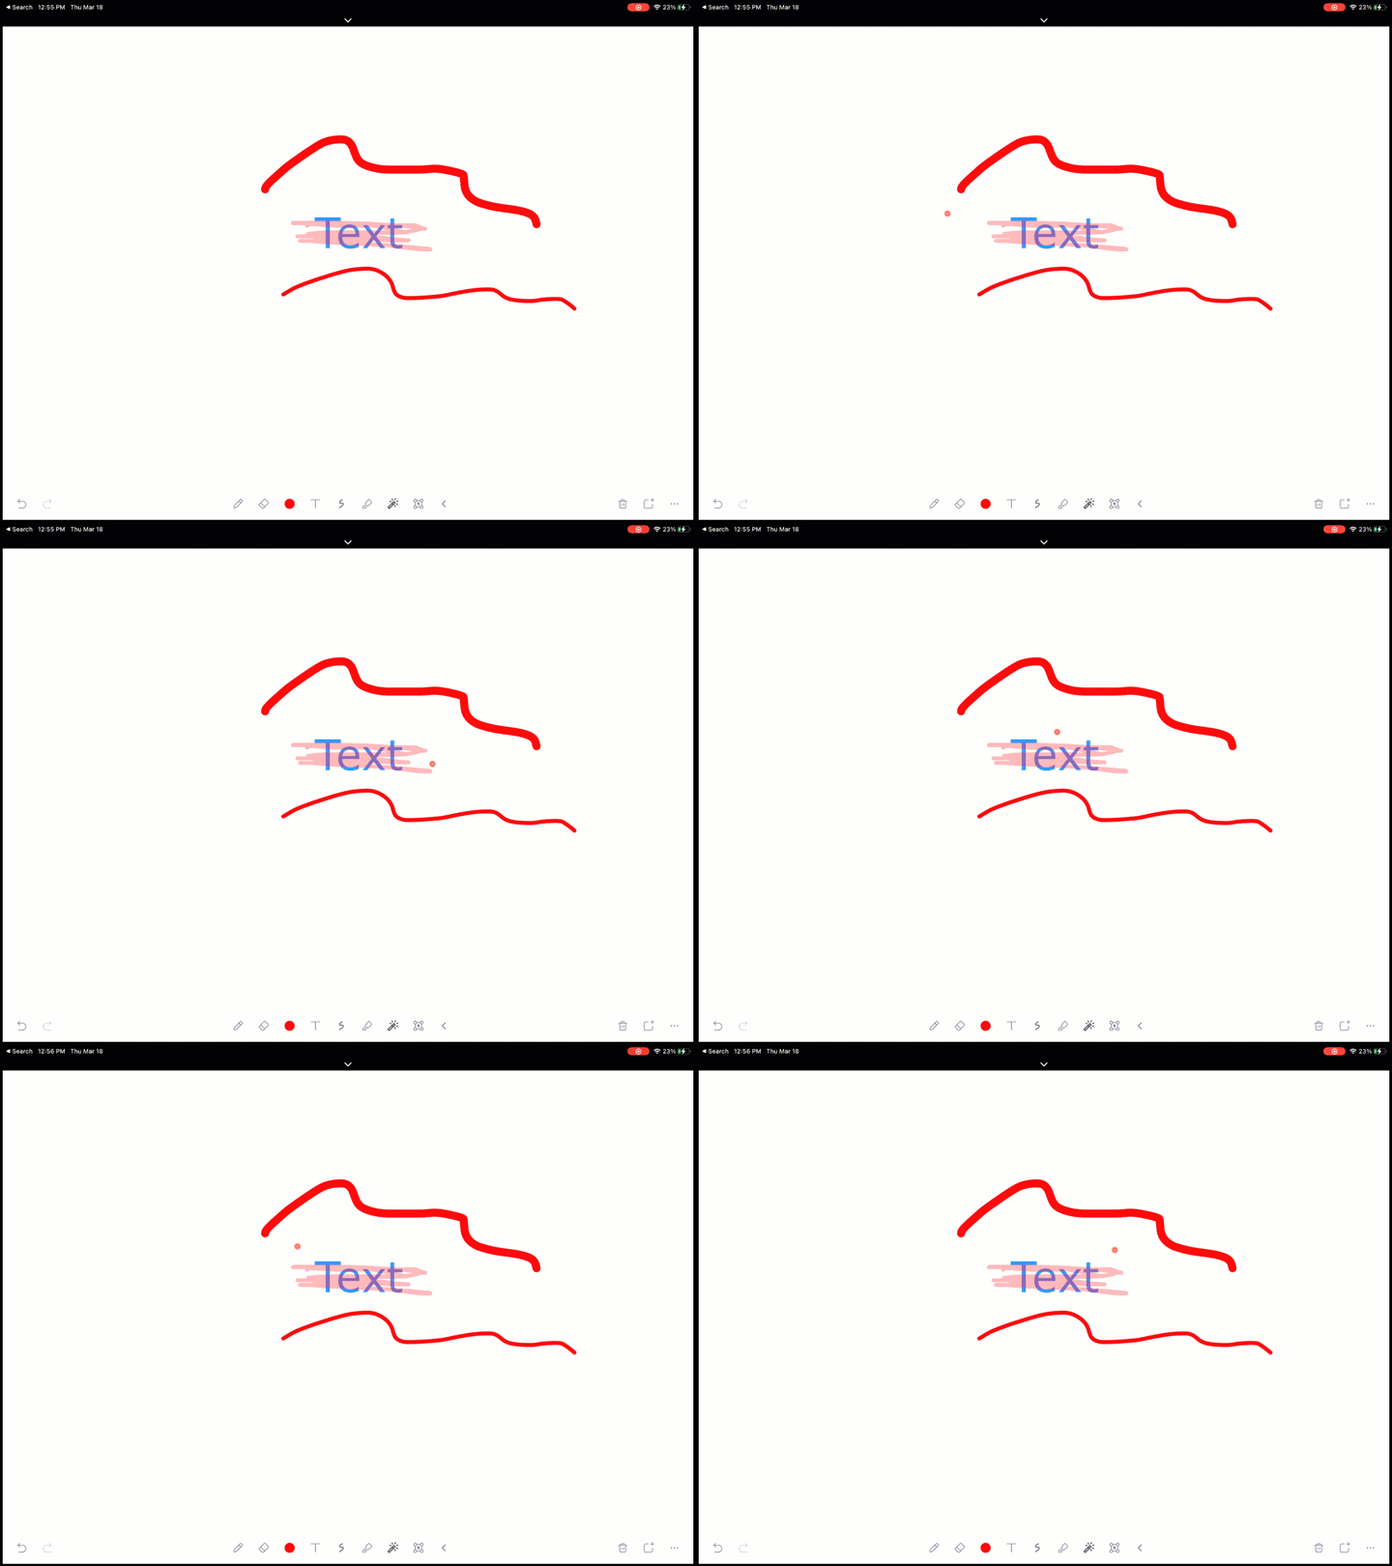

9. Select
Draws a selection box over specific annotations by using your finger or Apple Pencil over sections of your screen. Allows you to move or resize selected annotations.
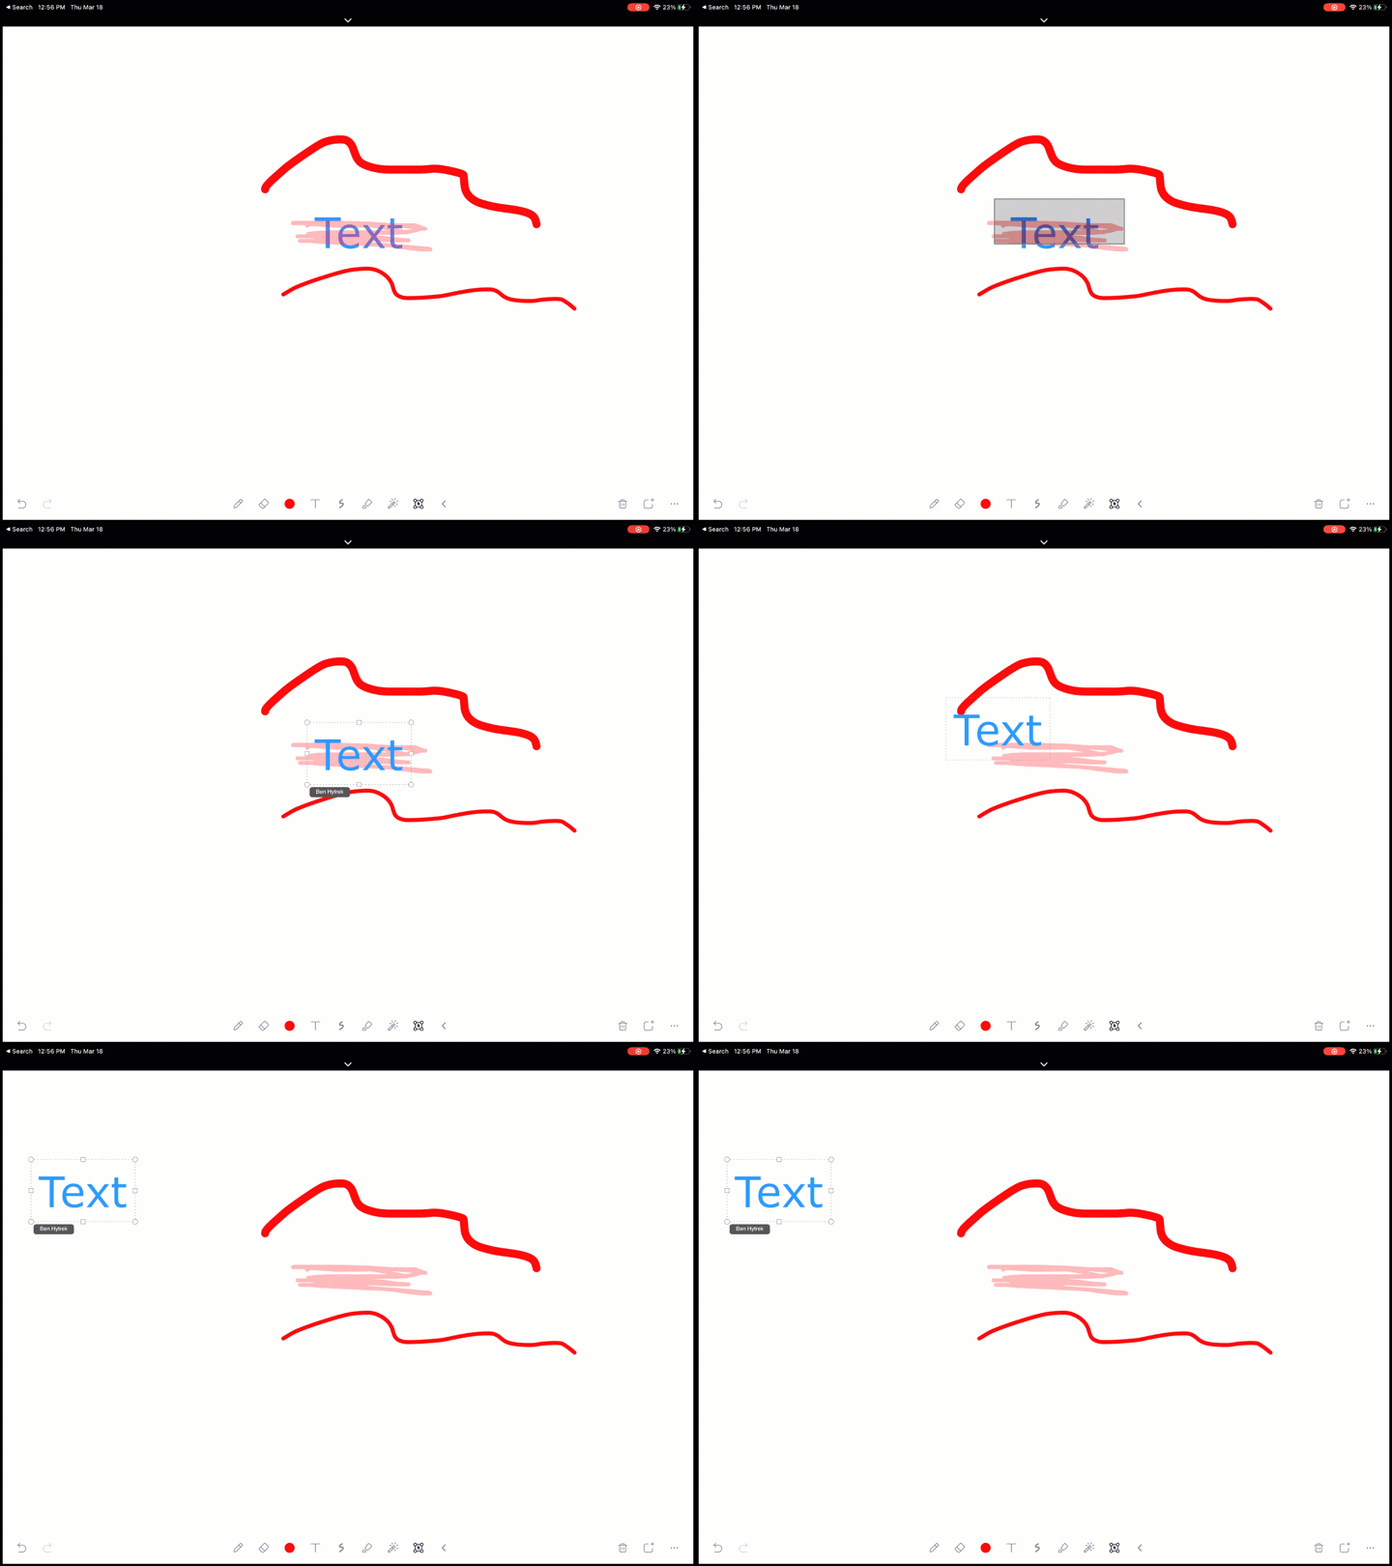

10. Collapse
Collapse the Annotation Tools Menu to only display the “Pen”, “Eraser”, and “Color” annotation tools.
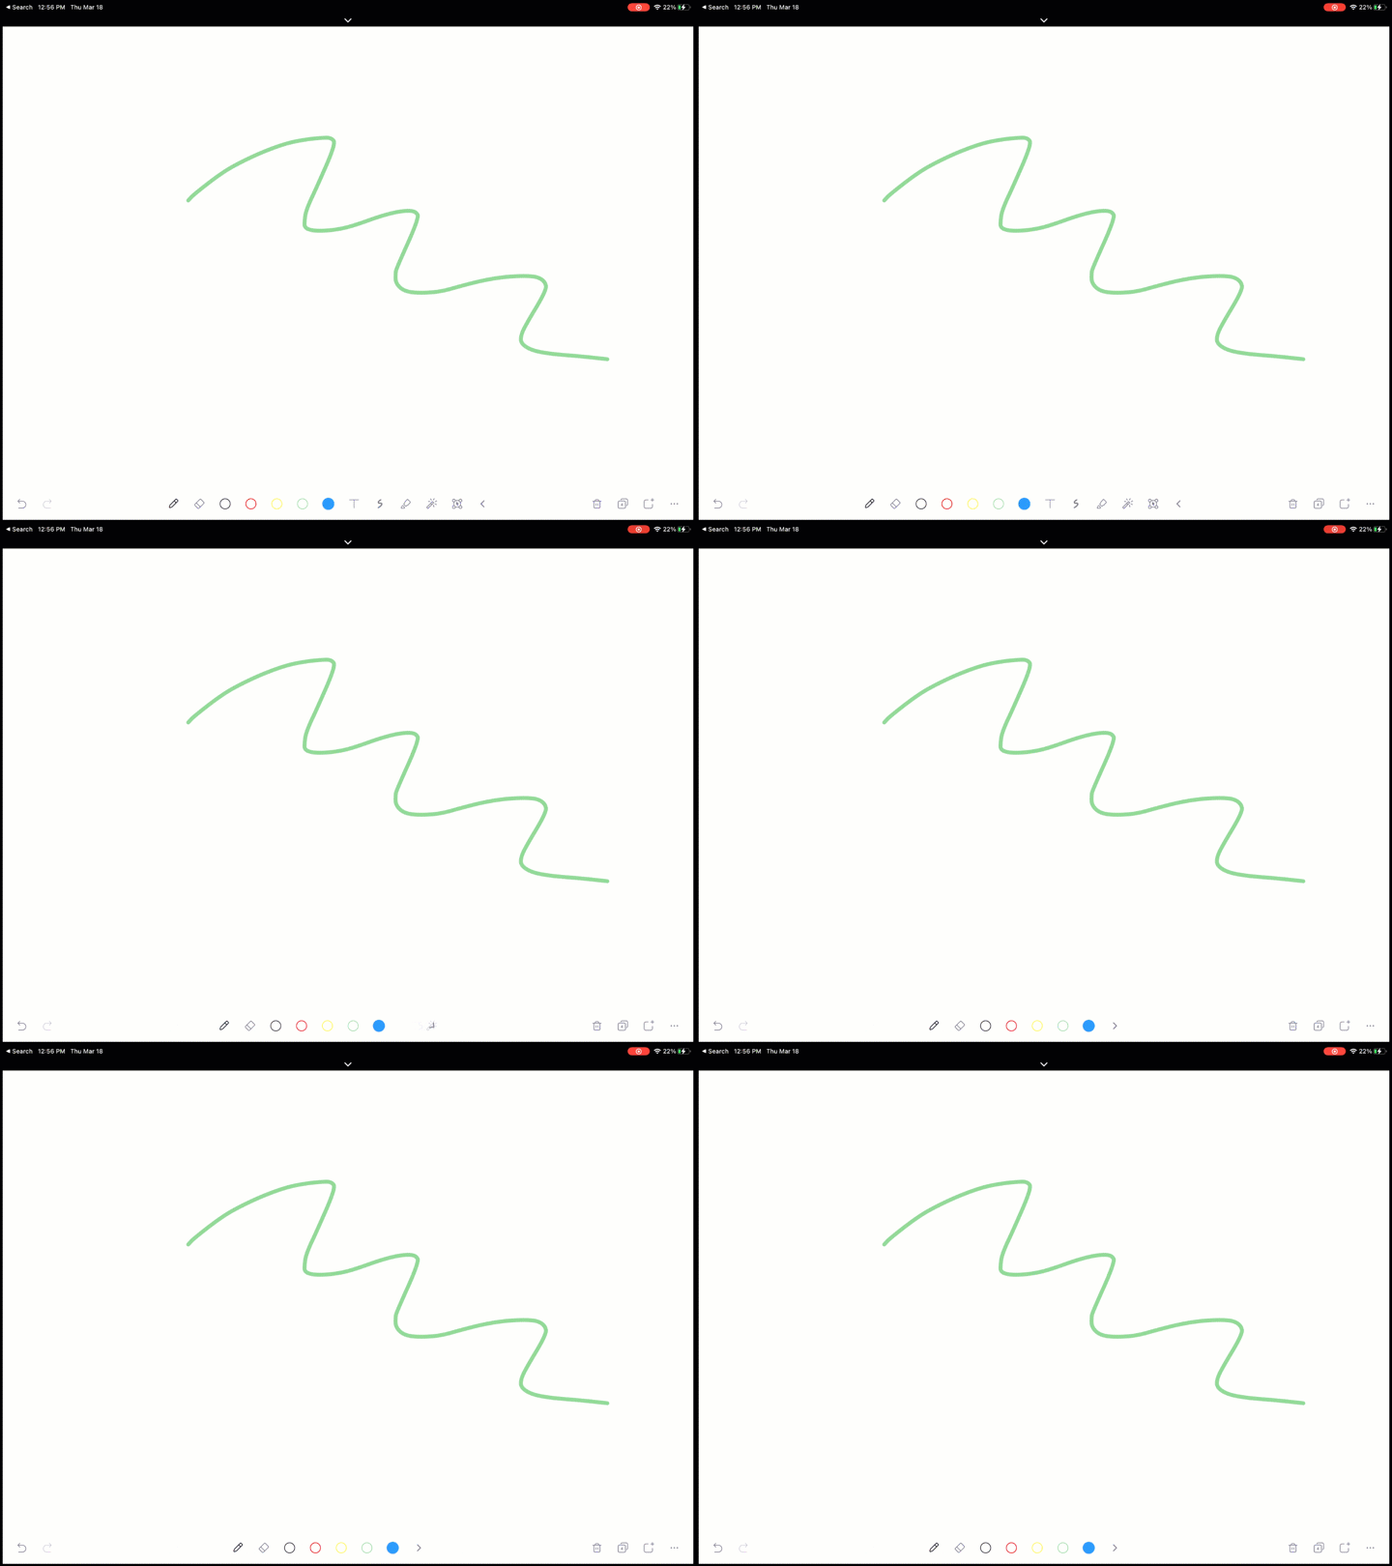

11. Trash Bin
Clears every annotations off your current whiteboard.
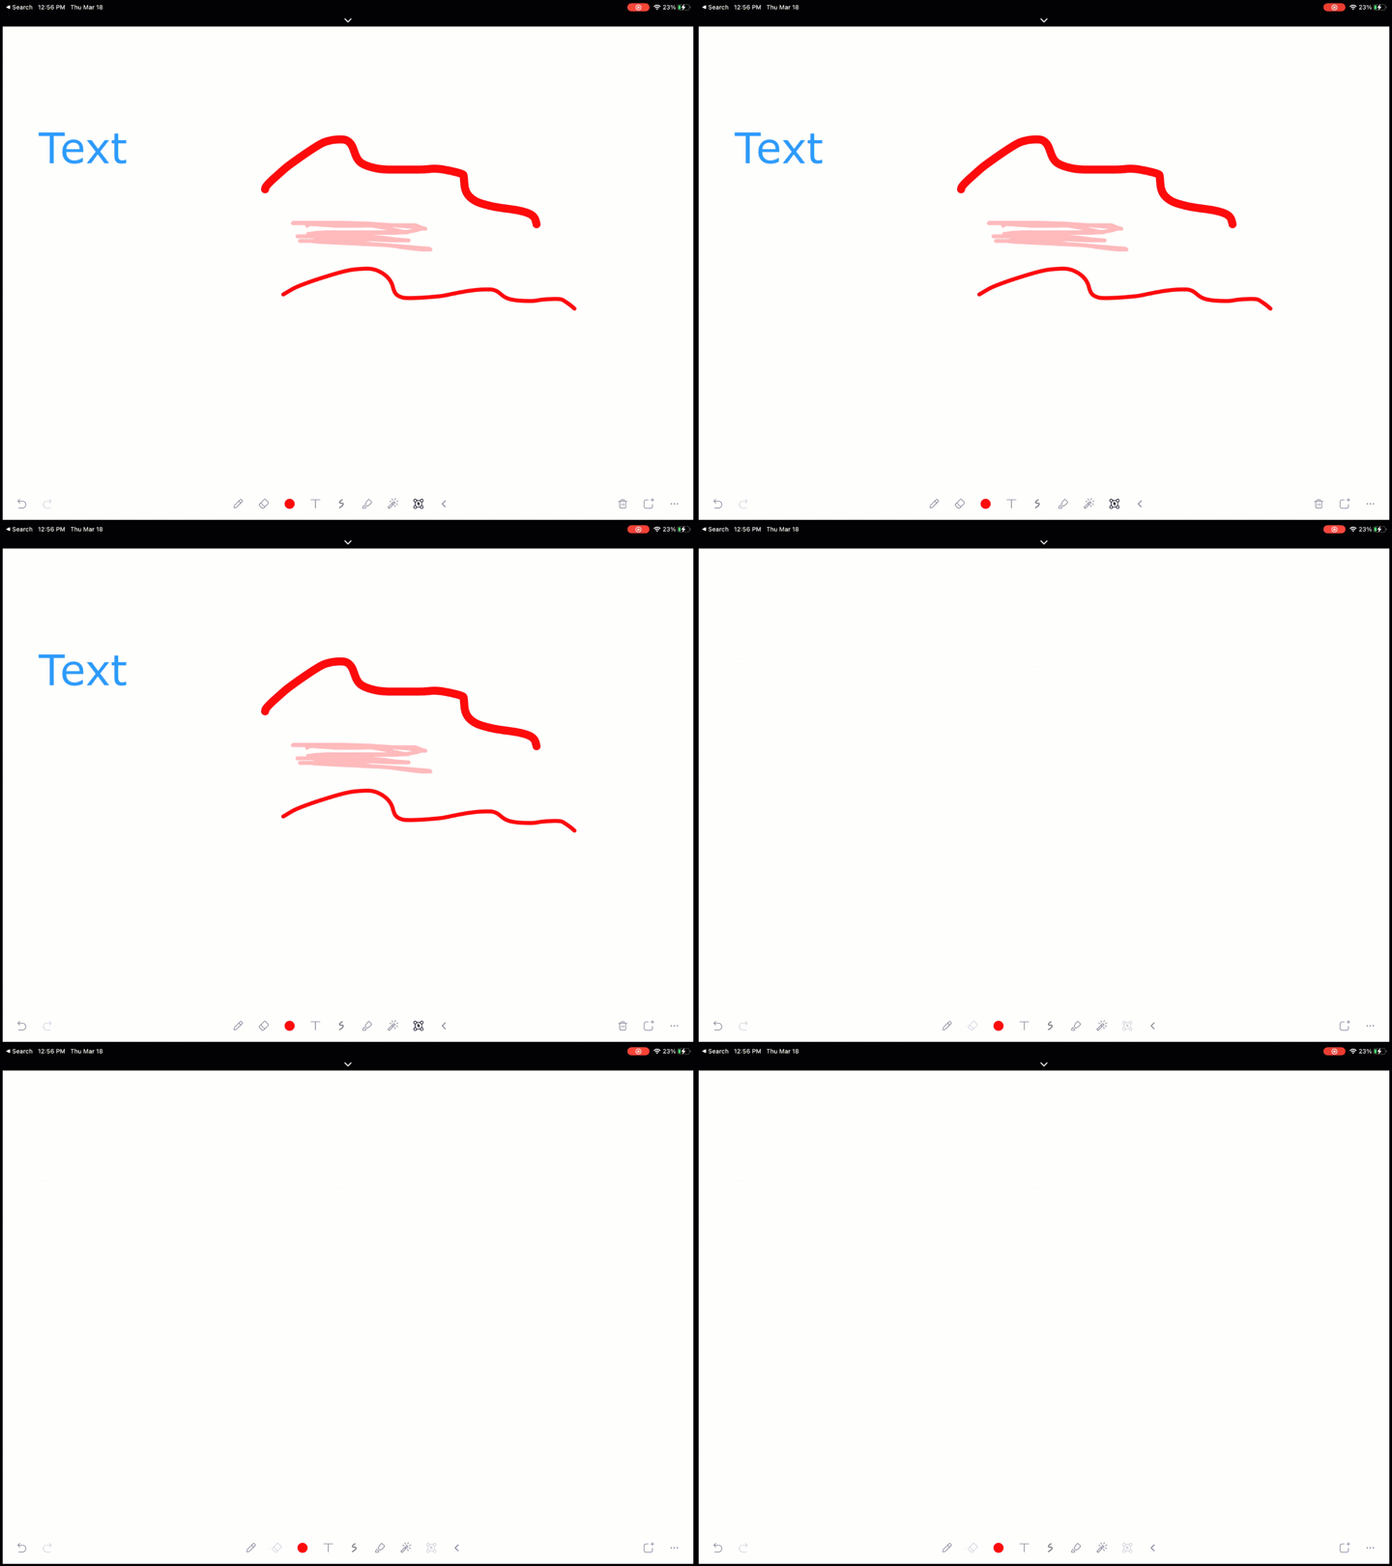

12. New Whiteboard
Adds a new Whiteboard to your whiteboard collection. A new icon will appear next to this button which will allow you to change whiteboards once you add your first additional whiteboard. You can add up to 12 individual whiteboards.


13. Annotation Settings
Clicking on the “Annotation Settings” icon will bring up a pop-up menu that will allow you to toggle a thumbnail of the Zoom Meeting video feed on and off or shave your current whiteboard to the iPad “Photos” application.

Using The Zoom Whiteboard Feature In Face-To-Face, Online/Virtual, or Blended Classrooms
Note: When using the Whiteboard Feature on a iPad, the iPad must either be the host of the meeting or have permission to share its screen content. For example, If your iPad is not the host application, you must join the iPad to the meeting and either enable participants to share their screen or make your iPad a “co-host” in order to use the whiteboard feature.
Using your iPad as a Virtual Whiteboard for Face-To-Face Classrooms
- Launch Zoom on your classroom’s desktop and projector. This will be the host of the meeting. The projector will allow students in class to see the whiteboard on the projector.
- Join your iPad to the meeting as either a co-host or allow for participants to share their screen in order to share the whiteboard feature. Note: Make sure to disable the microphone and webcam of either the classroom computer or iPad to avoid confusion or audio feedback.
- Once the iPad has joined the meeting, press the “Share Screen” button in the meeting controls of the iOS Zoom application. This will pull up a dropdown menu where you can select “Whiteboard” to begin sharing the iPad’s display.
Using your iPad as a Virtual Whiteboard for Online/Virtual Classrooms
- Either host your meeting on the iOS zoom application on your iPad or join your iPad to an existing Zoom meeting you have started on another computer as either a co-host or allow for participants to share their screen in order to share the whiteboard feature. Note: Make sure to disable the microphone and webcam of either the classroom computer or iPad to avoid confusion or audio feedback.
- Once the iPad has joined the meeting, press the “Share Screen” button in the meeting controls of the iOS Zoom application. This will pull up a dropdown menu where you can select “Whiteboard” to begin sharing the iPad’s display.
Using your iPad as a Virtual Whiteboard for Blended (Remote and Face-to-Face) Classrooms
- Launch Zoom on your classroom’s desktop and projector. This will be the host of the meeting and serve as the meeting that your remote students can join in order to participate in class and allow students in class to see the whiteboard on the projector.
- Join your iPad to the meeting as either a co-host or allow for participants to share their screen in order to share the whiteboard feature. Note: Make sure to disable the microphone and webcam of either the classroom computer or iPad to avoid confusion or audio feedback.
- Once the iPad has joined the meeting, press the “Share Screen” button in the meeting controls of the iOS Zoom application. This will pull up a dropdown menu where you can select “Whiteboard” to begin sharing the iPad’s display.
