
Commenting on a VoiceThread is integral to using the program to its fullest potential. There are many ways to comment on a VoiceThread and with the new user interface, the people at VoiceThread have made it an even easier task.
Editing Comment Settings
The first thing to do is to ensure that the comment settings are right for the assignment you are creating. This can be done by selecting the settings button from the editing window. Then you will have access to all of the settings for the VoiceThread. The settings for the comments will be the first type of settings in the list.

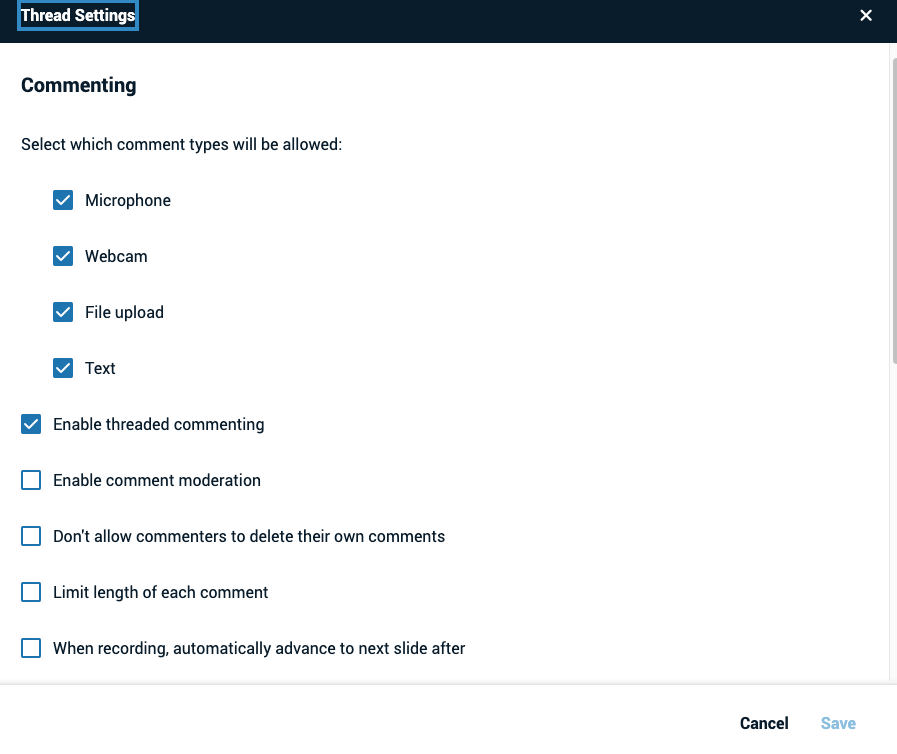
From within a Presentation
From the presentation view you can add voice, video, or text comments to your media (if they’re enabled). You can also draw on your media while recording your comments, as can students. The video below will show you how to use features within the presentation. Once you have the basic idea, open your own VoiceThread Account and begin exploring. You will learn best by doing!
Leave an Audio Comment
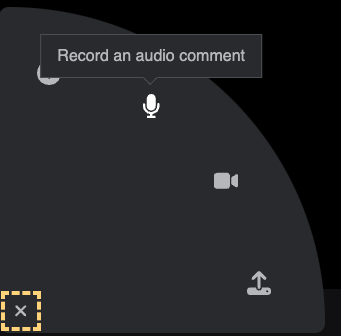
- Click on the microphone icon (Label: “Record an audio comment”).
- Click “Allow” on the microphone permissions pop-up from your browser if you see one.
- After the countdown is complete, begin recording your comment.
- Click the “Stop recording” button at the bottom of the screen when you are done speaking.
- As soon as your comment processes, it will begin playing back automatically. Click “Save” to save it or “Cancel” to discard it. If you were not done recording and want to continue the same comment, click “Record more” on the far right.
Leave a Video Comment
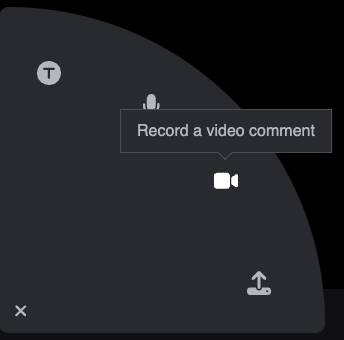
- Click on the camera icon (Label: “Record a video comment”).
- Click “Allow” on the webcam permissions pop up from your browser if you see one.
- After the countdown is complete, begin recording your comment.
- Click the “Stop recording” button at the bottom of the screen when you are done speaking.
- As soon as your comment processes, it will begin playing back automatically. Click “Save” to save it or “Cancel” to discard it. If you were not done recording and want to continue the same comment, click “Record more” on the far right.
Leave a Text Comment
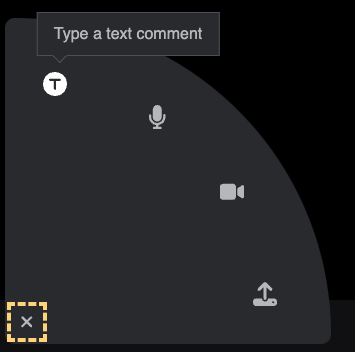
- Click on the T icon (Label: “Type a text comment”).
- Type your comment.
- Click “Save.”
Note: You can enter URL in a text comment, and it will be hyperlinked automatically.
Replying to a Comment
There are three ways that you can reply to a comment:
- Direct Reply (only available to the creator or editor of a VoiceThread)
- Threaded Reply
- Private Reply
