
This guide walks through how to set up, specifically, a Create-a-Voicethread assignment, but in addition to this assignment type, you can also create a Watch assignment, where students are required to watch a VT, or a Comment assignment, where students are required to submit a set number of comments on a VT that you’ve already created. If you’re interested in creating either a Watch or Comment assignment, follow the steps in Step 1: Create a VoiceThread Assignment, and then click the links above to be taken to those specific steps.
The ‘Create,’ assignment type in VoiceThread’s Assignment Builder requires students to create a full VoiceThread of their own. They will upload the slides and record comments, then submit the completed VoiceThread (VT) to you for a grade. You can even allow students to see their classmates’ submissions later so they can engage in peer review and conversation. This assignment type is great for:
- Student presentations
- Demonstration of a skill (bedside manner, playing an instrument, painting/drawing technique, pitching a business)
- Submitting a paper, wireframe, website, etc. to receive feedback
Step 1: Create a VoiceThread Assignment
- In your CI Learn (Canvas) course, click Assignments on your course menu
- Enter a title and instructions for your assignment, as well as points possible and other details
- Set the Submission Type to External Tool
- Click the Find button
- Scroll down the list and select VoiceThread and then click the Select button

- Set any due date or availability dates that apply to the assignment and then click the Save button at the bottom of the screen.
Step 2: Choose Activity
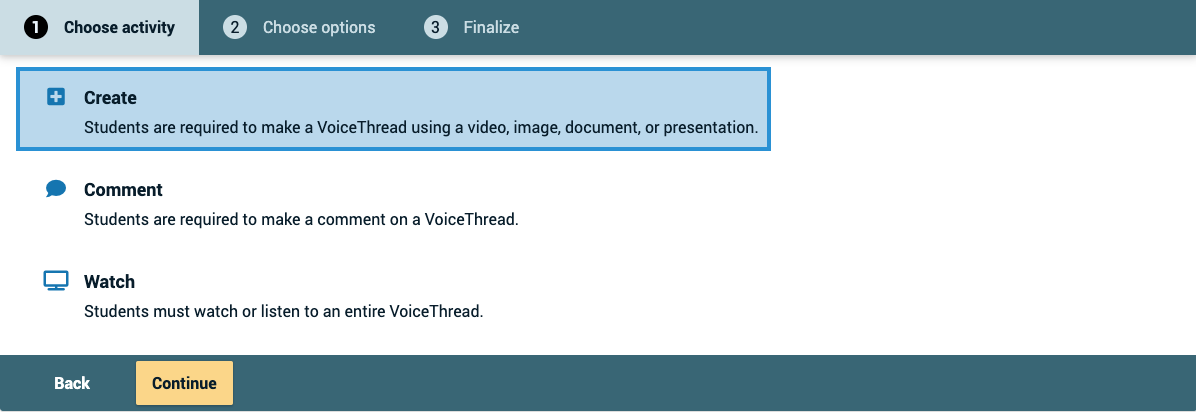
- On the following screen, you’ll see 4 blue buttons to choose from. Select the Assignment Builder option.
- Click on the Create button, then click Continue at the bottom of the screen.
Step 3: Choose Options
Select the playback settings you want each student’s VoiceThread to have. Students will not be able to override these settings.

- Number of comments required: Students will be required to post comments on the VoiceThread they create. You can require a minimum number or an exact number. They will not be permitted to submit until this requirement is met.
- Commenting types: Select which types of comments you want to allow students to post.
- Allow students to add slides to any VoiceThreads for this assignment: Allow students to add slides to any VoiceThreads submitted by their classmates to this assignment.
- Enable threaded commenting: Turns on the ability for your participants to start threaded conversations.
- Enable comment moderation: Allows you and the student to preview all comments on this VoiceThread before revealing them to others. You can also choose never to reveal them. Learn more about Comment Moderation.
- Don’t allow commenters to delete their own comments: Anyone who records a comment on a VoiceThread will be unable to delete it once it is saved. This is a powerful tool for assessment because your commenters will not be able to “retry” after they’ve recorded.
- Limit length of each comment: By default, all audio and video comments recorded in VoiceThread can be 60 minutes long. If you’d like to set shorter time limits for your commenters, enter your desired maximum comment length here.
- When recording, automatically advance to the next slide after: Set slides to advance automatically at pre-set intervals as users are recording. In addition, you can check the box for Pecha Kucha or Ignite beneath this option to automatically set the correct restrictions for those presentation types. Learn more about timed presentations here.
- Start playing when opened: The comments on your VoiceThread will begin playing automatically when people first open it.
- When final comment on a slide has played, automatically advance to the next slide after __ seconds: When the VoiceThread is in play mode, it will play through all of the comments on a slide and then move to the next slide automatically. The number of seconds is the “pause” time before the slide advances.
- Allow download: Allow students to download the central media from the VoiceThreads their classmates create.
- Allow export: Allow students to export one another’s VoiceThreads.
- Allow students to make a copy: Allow students to make a copy of one another’s VoiceThreads.
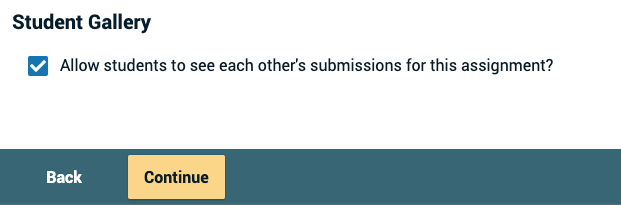
- Student Gallery: If you want students to view one another’s VoiceThreads after they are submitted, check this box. This will give them a “Student Gallery” button in their interface to see the VoiceThreads their classmates have submitted for this assignment.
Click Continue at the bottom of the screen when you’re done.
Step 4: Finalize
Set the final details for your assignment. Many of these details beyond the Assignment Name are optional, as you would have already set them up in Step 1. However, there are several that are unique to VT, such as the Example URL option, that you can add if you’d like. These details will appear to the students within the VT interface. We’ve marked which settings we recommend using, which ones we don’t recommend, and which ones are optional customizations.
- Assignment name (recommended): This will appear at the top of the assignment in the student’s view.
- Assignment instructions (not recommended – use Canvas settings): These instructions will appear on the right-hand side of the student’s view. Tell them more about what you expect from them here.
- Example URL (optional): If you have created an example you want students to follow or more information about the assignment, enter the link to that page here. It will appear on the right side of the student’s view.
- Message shown to student after they submit (optional): Customize the message students see after they’ve submitted their VoiceThread. A little personalization goes a long way!
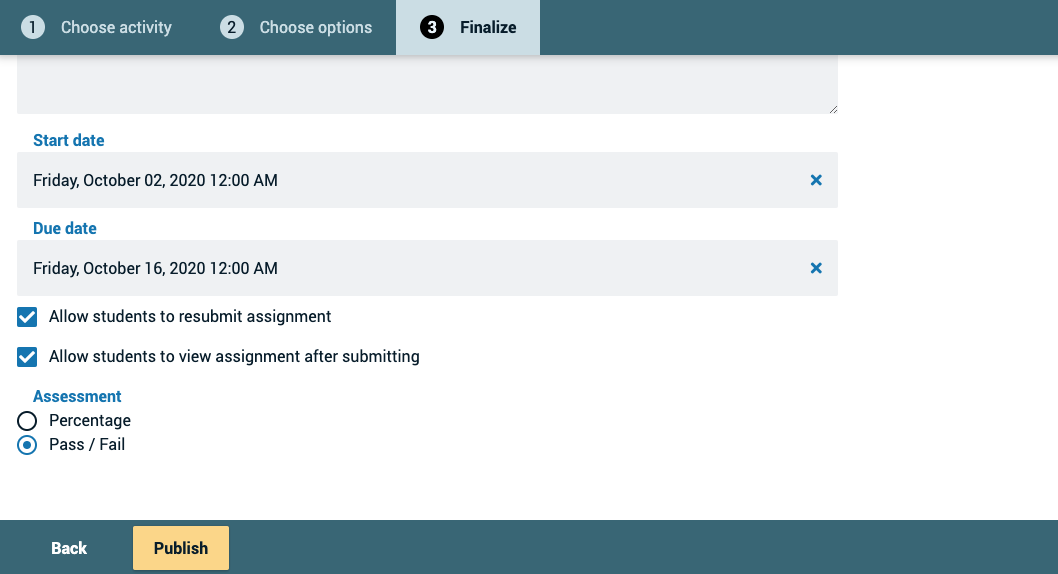
- Start date (not recommended – use Canvas settings): Students will not be able to view the assignment until the start date/time. If you want it to be open immediately, leave this blank.
- Due date (not recommended – use Canvas settings): Students will not be able to submit after this date. If you want the assignment to be open indefinitely, leave this blank.
- Allow students to resubmit assignment (recommended): Give students the opportunity to try again if they submit the wrong thing or need to make corrections after you give them feedback.
- Allow students to view assignment after submitting (recommended): If you don’t want students to be able to see the work they’ve submitted, un-check this box. If you want them to see their work so you can record feedback on it, leave it checked. They will not be able to make any changes to their work even if they can see it.
- Assessment (recommended): Choose how you would like to grade this assignment.
Click Publish at the bottom of the screen when you’re done. This will return you to your course page.
