
Any digital badge you have earned from TLi, OneHE and other organizations that issue badges using Badgr should be located in your Badgr Backpack. You can organize badges into collections to easily share badges as evidence of micro-credentials you have earned related to a common topic (i.e., Online Teaching and Learning) or category (i.e., Professional Learning AY 2021-2022) in your professional portfolios, social media networks, website, etc.
Login to Your Badgr Account
To begin, log in to your Badgr Account. If you have not accessed your Badgr Account before, follow the steps in the support article to set up your account before continuing.
- Go to badgr.com
- Click Sign In in the top right of the window.
- Next, enter your CSUCI email address (myci.csuci.edu for students and csuci.edu for faculty/staff) and the password you created to login to Badgr. Select Sign In.
- Once logged in, select Backpack located in the navigation pane along the top of the page.
Create a Collection
Once in your backpack, you will see a tab for “Collections” to the right of “Badges”.
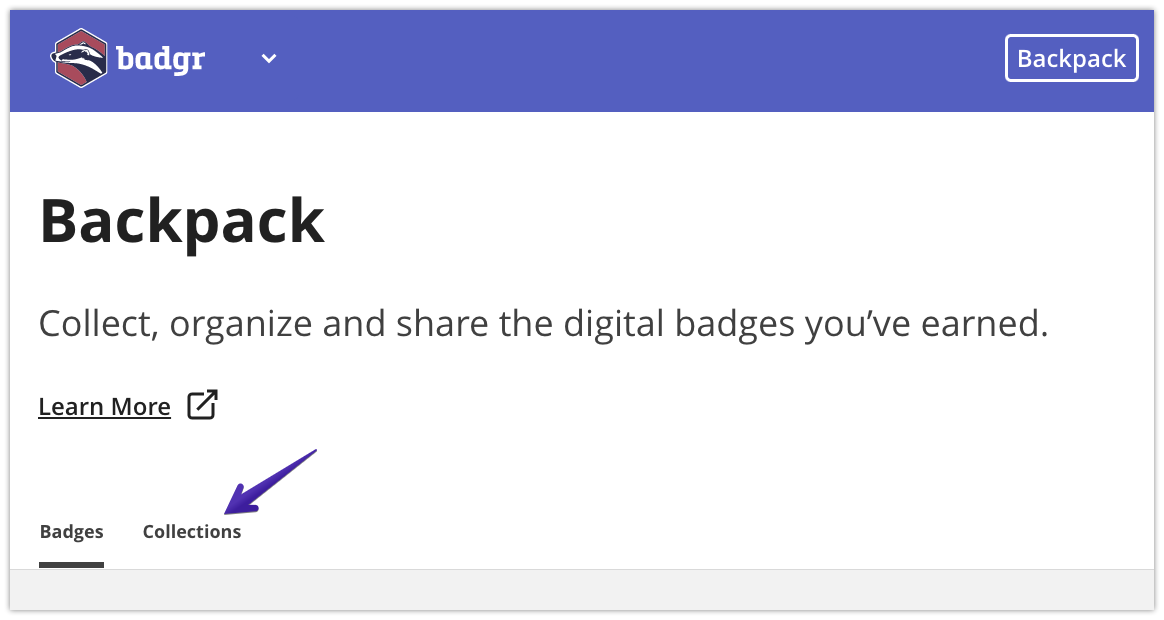
- Select Collections.
- Select the Create Collection button to the right of the screen.
- In the textfield, type in a Name for your collection and a Description of what skills, knowledge, or participation the collection illustrates. For example, “This collection includes evidence of preparation and professional learning for developing and facilitating inclusive online courses.”
- Select “Create Collection” at the bottom right of the Description textfield.
- Select “Add Badges”.
- Click on the empty box to the left of each badge you want to place in the collection. A checkmark will appear.
- When finished, select “Apply”.
- You can always add more badges to a collection later, by opening your collection and selecting “Add Badges”.
Share a Badge Collection
- To make your collection shareable, locate the toggle switch to the right of the word “Public.” From within a collection, the switch is located in the upper left of the page. Click on the toggle switch. The field will turn blue, meaning you can share your collection with an outside audience. Alternatively, the Collections page displays each collection as a rectangle. You will find a toggle switch in the lower left corner of each collection.
- Select “Share” to display options for sharing your collection. From within a collection select the button to “Share Collection”. Alternatively, from the Collections page, select Share located in the lower right of the collection you wish to share.
- Sharing options include:
- A link you can copy and paste in a digital portfolio, link within an Email, etc;
- Social Media including Facebook, Twitter, and LinkedIn;
- HTML if you wish to embed in a website, Canvas page, etc.
